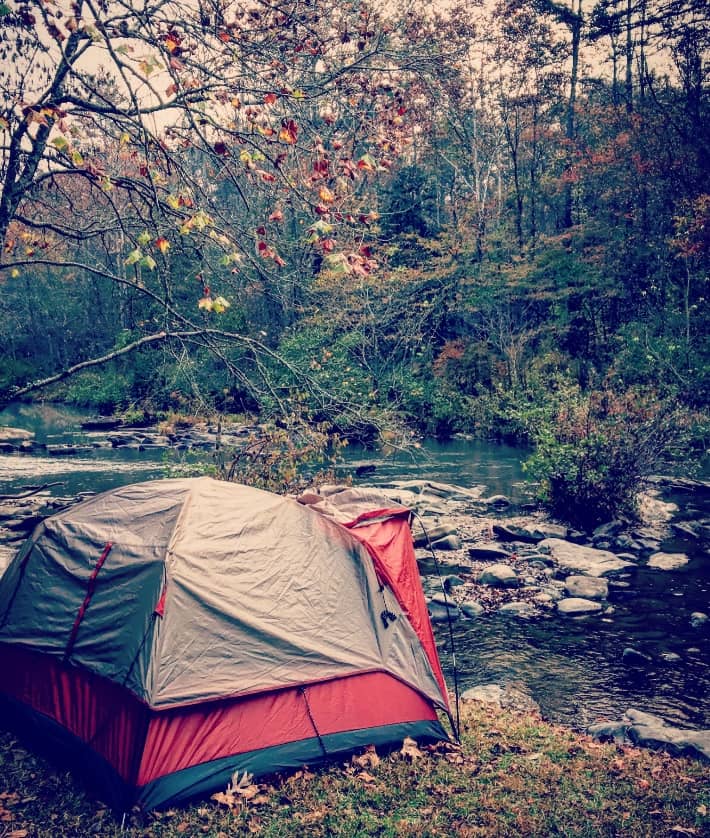
Are you tired of having your campsite destroyed by the rain? You can never be too careful when it comes to nature. To prevent that from happening, you can go ahead and cover your tent using a tarp.
When it comes to overnight fun, There’s risk involved, so we should be prepared for any contingency.
Learn how to put a tarp over a tent so that you and your family can have a fun night out without worrying about the elements hurting your tent. It’s an easy way to make your camping trip extra memorable without breaking the bank.
Things to Consider Before Setting Up
Before learning how to put a tarp over a tent and setting it up, keep in account the following considerations: weather conditions, site and equipment conditions, and personal preferences.
Site
Find a sunny place with no strong winds. A good stream or a water source nearby is better as well. Don’t plan to set up after a rain – this could cause your tarp to get wet and moldy.
Make sure no roots or sticks are blocking the way up or down. They will not only take extra work to get rid of but could also damage your tarp in the process.
As for site conditions, always go for soft grounds as it holds the moisture better and helps you keep the tent and other equipment dry between uses.
Support
The more support there is between the branches, the more secure the tree is and the less chance that anything will move or break beneath it. Support is critical where there are stakes or holes and when things can easily roll away from you or into dangerous areas.
When setting up a pole or tree for support, make sure you stake it properly so that when the time comes to store it, the stakes won’t become loose and fall onto the ground or get cut into the ground by a saw during your next move. The stakes should be at least level with the ground and have a diameter of no less than 18 inches.
Equipment
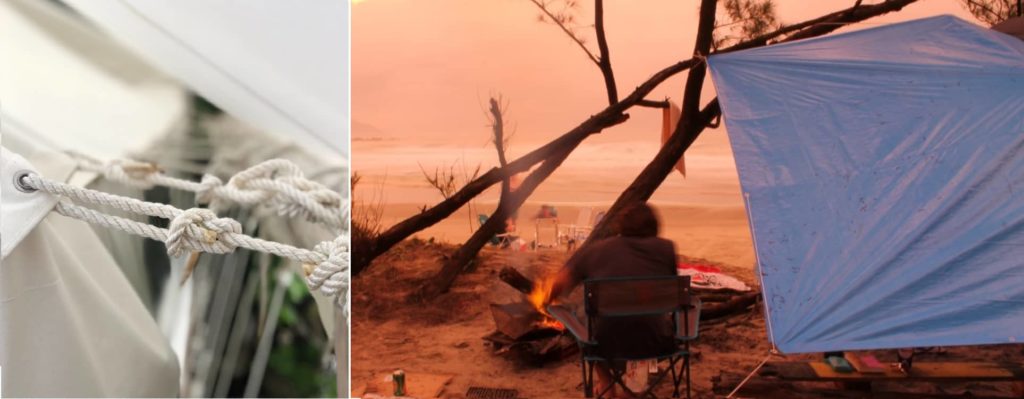
Before setting up your tarp shelter make sure you have the proper equipment. Make sure that you have the correct type of rope for the task at hand, that it’s long enough and tightly wound.
How to Put a Tarp Over a Tent (4 Secrets)
I can guarantee that it’s fun to learn how to put a tarp over a tent, and on following my instructions you will be able to do just that with ease. Here I am adding as many as 4 different ways to put a tarp for your convenience.

A-Frame Setup
When used properly, the A-frame set up for shelter can save both time and money on materials. It is easier to set up and maintain than other smaller tarp setups. A-frame designs are also easier on your body as well as your wallet when you end up spending more on shelter materials over time. So, how is it created?
- Step 1: Decide on two sturdy trees, around 10 feet apart, on either end of your A-frame configuration. Of course, this depends on the size of the tarp and the tent you’re aiming for.
- Step 2: Create a ridgeline by using a piece of rope to connect the two trees.
- Step 3: Tie guy ropes to the four corners of the tarp.
- Step 4: Lay out the length of the tarp along the ridgeline, making sure it is parallel to the edge of your deck and won’t be overlapping materials.
- Step 5: Pull the four ropes at the end towards the ground and peg them down.
Teepee Style
There are two primary requirements while setting up a teepee shelter. The first is for those who have space and resources for it, and the second is you should be willing to put in the time and effort. It’s a little complicated, but if done correctly, it gives you an aesthetically appealing design and more space inside the tent as well!
- Step 1: First, determine where you will place the teepee, that is, the center of your tent.
- Step 2: Put a pole or a thin tree on the same spot. Make sure the pole is sturdy. It should be able to hold up without support.
- Step 3: Take ropes or cords and tie them to the top of a tree or pole. Once everything is tied down, secure the rest of the ropes to the ground in a perfect circle.
- Step 4: Drape the tarp all around the circle. Ensure that no part of the tent is left exposed as it is being pitched.
- Step 5: Secure the tarp with ropes. Work on the bottom portion first, then work your way up to the top.
- Step 6: Secure the rope around the pole and the tarp so that it doesn’t slip or pull out unexpectedly.
Arrow-Head Setup
The arrowhead style is an excellent choice for emergency shelters. It’s a quick and easy process. Plus, it’s a great place to rest when the wind is howling, and you don’t want to ruin your clothes. Second, it has storage space for your items. Three, it has an exceptionally low profile that won’t attract any rats or mice! This is how you can set one up:
- Step 1: Establish a ridgeline between two poles or trees where you want the entrance to be.
- Step 2: Tie a Guy Line to the edge, which will be the tip of the arrowhead.
- Step 3: Lay out the tarp across the ridgeline such that a small triangular portion is at the end of the entrance, but the majority portion is behind it.
- Step 4: Peg the guy line and the three remaining ends to the ground such that the tarp is taut.
The Tube Tent Tarp Design
This design is more compact and provides room only for a single adult or a small tent. However, it is suitable for areas where water seeping into tents is a problem. It provides a floor, which means that you won’t be sleeping directly on wet grass. Also, it stays steady in strong winds and creates a low profile for stealth camping.
- Step 1: Attach the opposite ends of the tarp.
- Step 2: Determine the place for a ridgeline between two opposite poles or trees. This will be the center of your tent. Secure the first end to the pole.
- Step 3: Before fastening the second end of the ridgeline to the pole, pull the tarp through the rope. Let it drape around the ridgeline until the next steps.
- Step 4: Secure the second end.
- Step 5: Peg the tarp such that an equilateral triangle is formed at the entrance and the fabric is taut.
Additional Things to Keep in Mind
Some extra tips would be helpful while putting a tarp over a tent.
Advantages of a Tarp Over a Tent
There are a variety of reasons most campers prefer a tarp over a tent.
Of course, in the end, it comes down to personal preferences. But what makes people keen on learning how to put a tarp over a tent?
Advantages
Drawbacks of a Tarp
As we mentioned earlier, there are always two sides to the same coin.
In that same manner adding a tarp over a tent is also not immune from disadvantages. However it can be easily solved by taking some precautions.
Disadvantages
Conclusion
In order to have fun in your tent, you have to protect it. You don’t want that rain or moisture seeping in and interrupt the fun. If you put a tarp over your tent, you will be able to avoid leaks and keep the elements out through the seasons. It’s an easy-to-learn, essential skill!
Hopefully, this article taught you how to put a tarp over a tent easily so that you can have a fun and worry-free camping trip.
- Freediving Fins vs Scuba Fins: A Detailed Comparison - February 21, 2022
- How to Use Hammock Straps (A Step by Step Guide) - February 21, 2022
- 8 Best Places to Fish in Ohio (With Complete Details) - February 20, 2022