Learn how to install hydration bladder in your backpack and stay hydrated in your trek.
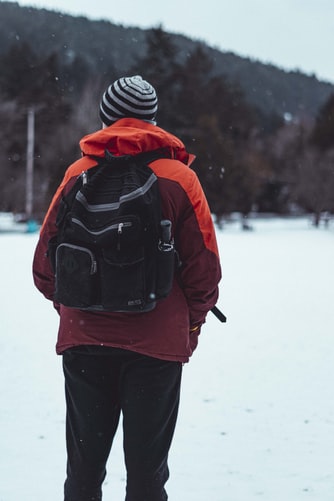
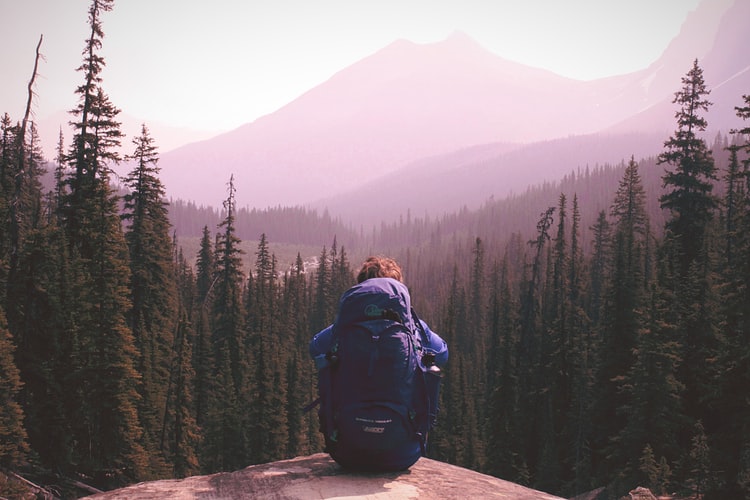
Have you made the check list for your upcoming hiking expedition? If yes, then quickly check whether you have included a hydration bladder in the list or not. It is one of the most critical things that can make your excursion or trekking easy and convenient.
For those of you who suffer from frequent dehydration, hydration bladder is an absolute must that you simply cannot forget to carry with yourself.
There are plenty of backpacks and rucksacks which come equipped with hydration bladders. In case you do not have one of those, you can buy a hydration bladder separately and install it in your regular backpack.
Here is a quick tutorial for you on how to install hydration bladder in your backpack. It is not rocket science and probably the most straightforward job you have ever done. es
How to Install Hydration Bladder in Your Backpack
As I was saying that it’s not a tough nut to crack, and I have done it innumerable number of times with ease. In this article I will guide you to learn how to install hydration bladder in your backpack in a few simple steps. It doesn’t matter whether which type of backpack you are carrying, you will be able to do it easily. Let’s start!
- The hydration bladder
- The backpack in which it will be installed
- A few clips to secure the pipes in the proper place
- Some quantity of water to test the functioning of the bladder post installation
10 – 15 mins.
Step 1
Locate the most suitable position in your backpack. When you are out for travel, there will be plenty of things in your backpack. Tracing the appropriate location to fix the hydration bladder is not an easy task.
There are two governing factors for choosing the right site. Firstly, it should be easily accessible, and secondly, the position should be large enough to accommodate the hydration bladder.
The perfect places are usually the side pockets or any spacious pockets within the backpack that you can reach easily.
Step 2
Set up the hydration bladder. This step’s critical task is to ensure that the hydration bladder’s hose and exit are towards the bottom to maintain proper water pressure and flow.
Step 3
Clip the bladder in the proper position. You can run the bladder through your chest harness for the ease of access and suitable place.
Step 4
The last step is to check that the hydration bladder is working appropriately or not. This step’s prime job is to ensure zero twists or knots in the delivery system. That is all, and you are done with your task of setting up the hydration bladder.
Is Hydration Bladder a Necessity?
Do you think that hydration bladder is not a necessity? Well, you are far from reality then. An accessible water source is essential, especially during trekking or excursion trips where you need to walk for long distances.
You can put up the question here that a water bottle is apt to store water, and you can even fit it in your backpack, then what is the need for a hydration bladder?
But, what about those scenarios when your hands are occupied while climbing through some slope or cliff? It is mostly in these situations that you need some handy water source to quench your thirst that can eliminate the hassles of reaching out to a source with your hand. A hydration bladder is a perfect hands-free alternative for trekkers.
Having a backpack with a hydration system helps you sip at any time, keeping your hands free.
Sipping water at regular intervals can keep you away from experiencing the nauseated symptoms of high altitude sickness. The hydration bladder is a savior in this case. When you drink water from the bottle, you tend to gulp a lot of it at one single go.
Too much of drinking in a single shot leads to severe stomach pain and jolts at high altitudes. Drinking from a hydration bladder can eliminate this problem and keep you hydrated for a long time. That’s why you should learn how to install hydration bladder in your backpack.
How to Choose the Perfect Hydration Bladder for Yourself?
If you have yet not bought a hydration bladder to include in your backpack, here are the top 5 factors you must keep in mind while purchasing: –
The Intent of Use
Realize your purpose of using a hydration bladder. The various activities that call for a hydration bladder are trekking, excursions, cycling, skiing, etc. The shape and capacity of the hydration bladder will vary according to the type of activity.
The Capacity
This is the dominant factor to consider while buying a hydration bladder. If you are going for day-long treks or expeditions, a bladder with high capacity will be useful. Whereas, if it is an hour of cycling, a small hydration bladder is good to go.
The Quality
Always remember that the bladder will be in direct contact with the water you drink. The built material should be a certified one that is non-toxic and poses no adverse effects on health.
Accessibility of Drinking and Refilling
The hydration bladder’s hose system should be as simple and straight as possible. This makes drinking from and refilling the hydration bladder easy and convenient. A bladder with a relatively simple mechanism is also easier to clean.
Size
Your backpack pocket size is the ultimate determinant of the hydration bladder’s size that you can buy. So, before purchasing the bladder, make sure you check the pocket’s accommodation capacity only to avoid ending up in buying a mismatch.
How to Take Care of Your Hydration Bladder
Here are a few quick steps to maintain your hydration bladder in a proper state when not in use: –
- Rinse the bladder and the delivery pipes thoroughly with plain water or a mild non-toxic soap.
- After cleaning, dry it properly to avoid any residual moisture.
- It is always better to freeze the hydration bladder when it comes to storing options. Low temperatures prevent the growth of any unwanted microbes in the hydration bladder, which ensures its long shelf life.
Conclusion
A hydration bladder is pretty much like those savior angels who come to relieve you of the distressful situations. Carrying a water bottle can be frustrating, especially for active trips like treks. Hence it is always a better idea to have the knowledge of how to install hydration bladder in your backpack to meet your water needs.
- Freediving Fins vs Scuba Fins: A Detailed Comparison - February 21, 2022
- How to Use Hammock Straps (A Step by Step Guide) - February 21, 2022
- 8 Best Places to Fish in Ohio (With Complete Details) - February 20, 2022